
Add the app to your iPad
In nine steps your booking panel sits on the Home Screen like a real app, and notifications about new bookings are switched on. You only tap where the pink marker is.
-
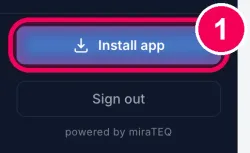
Tap „Install app“. At the very bottom of the sidebar is the button „Install app“. Tap it.
→ A short note appears.
-
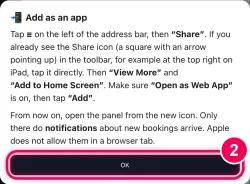
Tap „OK“. Read the note and tap „OK“. On the iPad „Share“ is at the top, not at the bottom.
-
Tap „Share“ at the top. At the top right of Safari, tap the Share symbol (the square with the arrow pointing up).
→ A menu opens.

-
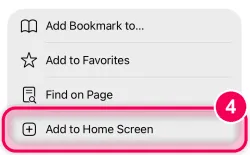
Tap „Add to Home Screen“. Tap „View More“, then „Add to Home Screen“.
→ A window for adding it opens.
-
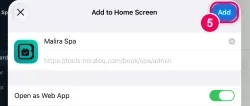
Tap „Add“. The name is already filled in and the „Open as Web App“ switch is on. Leave it that way and tap „Add“ at the top right.
→ The app is now on your Home Screen.
-
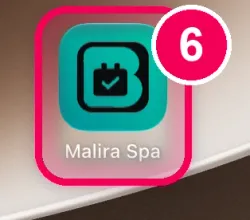
Open the app. On the Home Screen, tap the new icon. From now on always open the app from there, not through Safari.
-
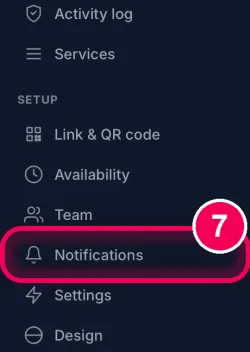
Tap „Notifications“. In the sidebar, tap „Notifications“.
-
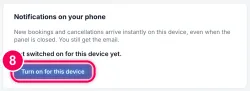
Switch on. Tap the button „Turn on for this device“.
-
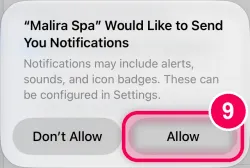
Tap „Allow“. The iPad asks briefly. Tap „Allow“.
→ Done. New bookings and cancellations now arrive on your iPad straight away.